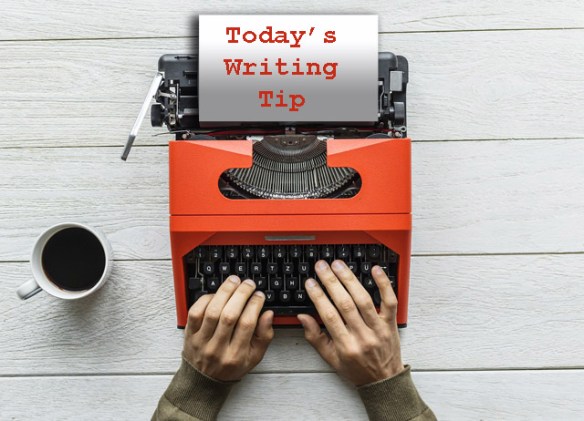
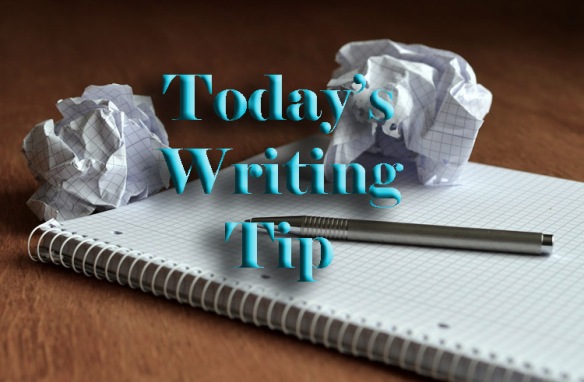
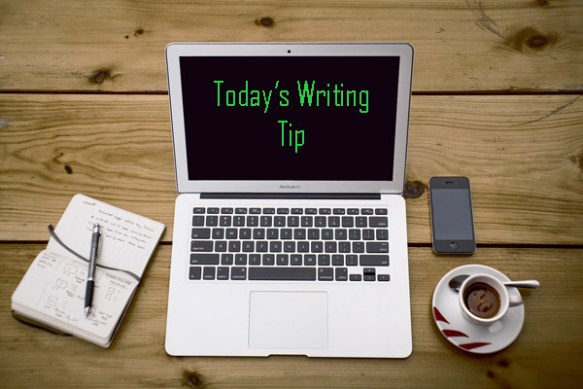
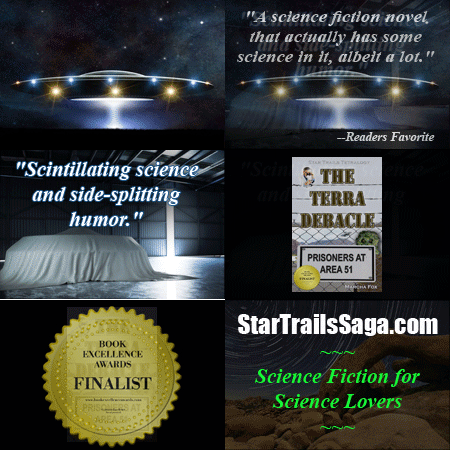
 Giving promotional graphics a bit of “zing” helps them stand out and draw attention, which is always a challenge in today’s glutted market. If you have Photoshop, it’s a cinch to create automated gif files. I created the ones you see here when I purchased
  advertising on a site that had dozens of other ads, most in the postage stamp size you’re looking at. (Making them in a larger size is no problem–the final product is based on the size you start with. The dimensions of these are 225 x 150 pixels with 300 dpi resolution.) I wanted mine to stand out, videos weren’t allowed, so I decided to put together gif files.
I have an older version of Photoshop, not the new and improved version that now requires a subscription. That’s a bit rich for my current author income, so I make do just fine with my old-faithful version. The directions for creating a gif that I originally found were apparently for that newer version, but it was similar enough it didn’t take me long to accomplish it on mine. Rumor has it that you  can achieve the same thing with Power Point, but I haven’t tried that. I suspect the process would be much the same.
You can include as many frames as you like. The only limit will be the file size of your final product. Each of these is around 450K, but they are quite small.
Here’s how it’s done: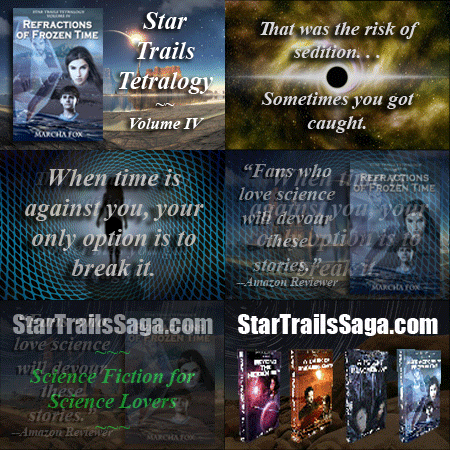
- Open all the jpg files you want to use and make them the correct size and resolution. It should be intuitively obvious that they all need to be the same size.
- Open a new file and add each jpg as a separate layer. This is best done via a simple cut and paste.
- Make sure the pictures are in the order you want; rearrange if necessary. If you put them in order first, it’s easier later. The one on the bottom of the layer window will be first, so you’re stacking them, bottom to top.
- Open the Animate window from the pull-down menu at the top of the screen. This places a long, skinny window on the bottom of the screen. The “Animate” window has its own menu, which opens when you click on the tiny arrow on the top right.
- From that menu, choose “Make frames for all layers”. Ka-boom! All of your pictures will now show up as frames in the Animate window. If they’re not in the order you want, fix it now using drag and drop.
- Now you’re going to add transitions between each frame using the tween command. You can use the Animation window’s drop-down menu, or the glyph that looks like little dots under the frames to the left.
- The next step is to adjust the timing for each frame. You do this by clicking on the time at the bottom of each picture. It’s easier if you do this when you’re done. If you do it before “tweening”, all the added transition frames will have the same time as the previous frame, which you may have to adjust by hand. I gave the pictures between 2 – 5 seconds, and the transition frames generated by tweening 0.2 seconds. Do as you like to achieve the effect you want.
- Use the arrow in the Animate box to play the result, which will show up where your picture is on the screen. When you’re happy with it, use the option “Save to Web” in the main menu to save it as gif file. You must use this save feature for the animation to work! Using the normal “save” doesn’t capture it.
These are a natural for cover reveals and new releases to grab a little extra attention for your Facebook and Twitter posts. It also works well for highlighting reviews or excerpts, special deals, or upcoming events.
Indie authors on a budget like myself get to use their creativity in their marketing efforts as well. This is one way to do just that. Have fun!